Documentation
Getting Started
- Install the add-on from the Google Workspace Marketplace
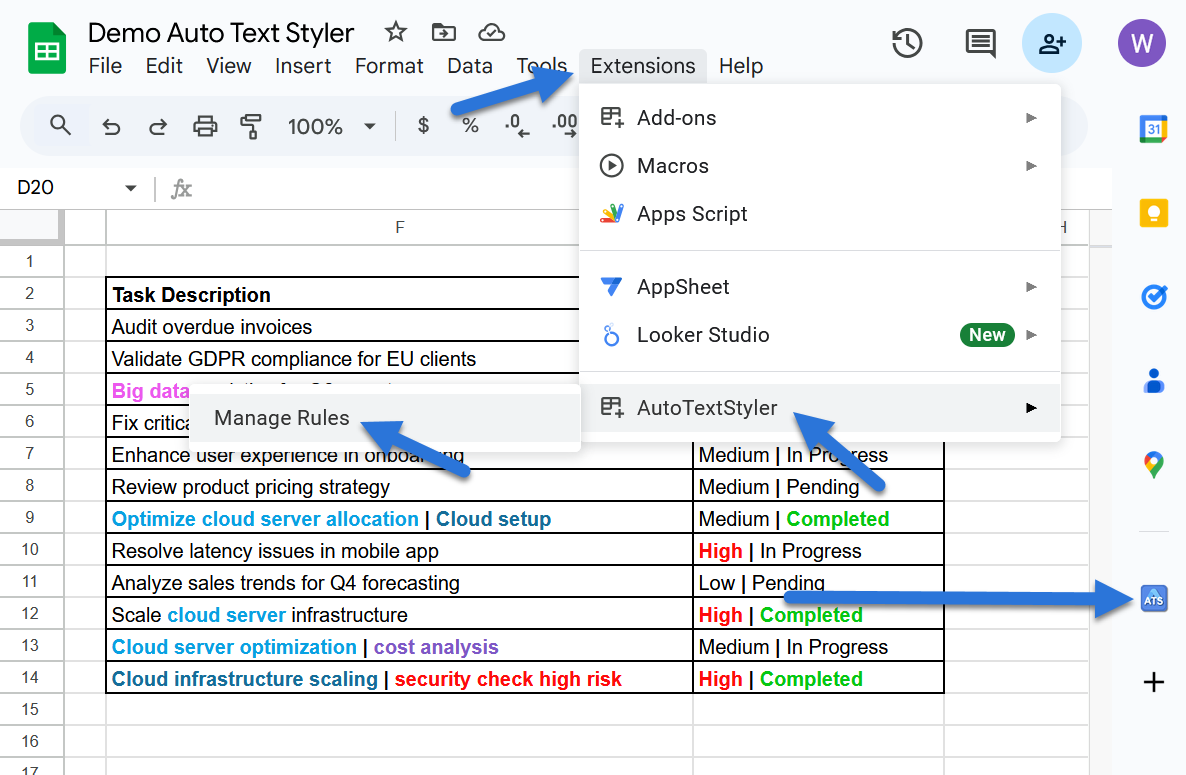
- Open any Google Sheet and click "Extensions" > "Auto Text Styler" > "Manage Rules"
- Create your first rule by specifying a keyword and desired formatting
Permissions & Privacy
We respect your privacy:
- All processing happens locally in your browser
- No data is transmitted to external servers
- We only access the Google Sheets API to apply formatting for your rules
User Guide
Use this guide to quickly set up and manage text styling rules in Google Sheets.
Creating Rules
-
Open the Auto Text Styler sidebar from the Extensions menu or the sidebar menu.
-
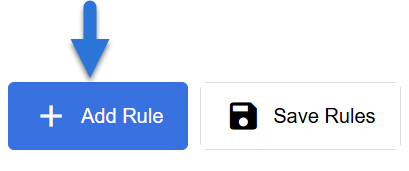
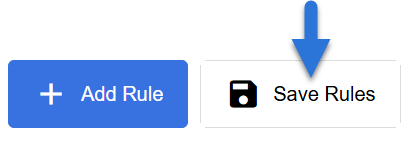
Click the “+ Add Rule” button to create a new rule.
-
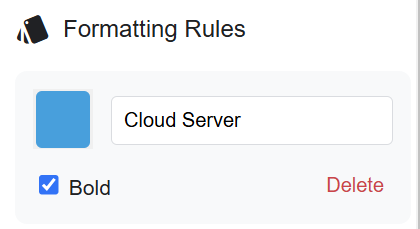
Enter a keyword (e.g.,
“Urgent”) in the text input field. - Select a color from the color picker to highlight the keyword.
-
Toggle the Bold option if you want the keyword to appear bold.
-
Click the “Save Rules” button to apply your changes.
Managing Rules
- To delete a rule, click the “Delete” button next to the rule.
- To edit a rule, modify the keyword, color, or bold setting, then click “Save Rules”.
Text Separator
-
Navigate to the Settings section in the sidebar.

-
Enter a custom separator symbol (e.g.,
|,~, or:) in the input field. - Click the “Save” button to apply the new separator.
- Text separated by this symbol will be styled as individual segments.
Example: Using the separator
| in the cell text “Task|Priority” will allow both segments to be styled separately.
Batch Updates
-
Click the “Update All Formatting” button in the sidebar to apply current rules to all existing text in the spreadsheet.
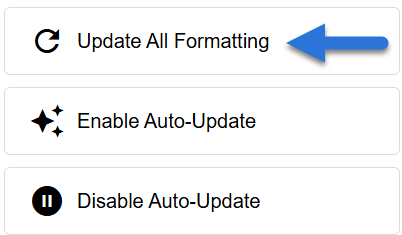
- This is useful after adding new rules to ensure historical data is formatted correctly.
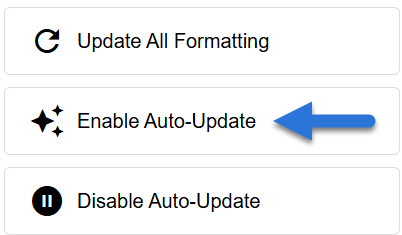
Auto-Update Settings
-
To enable automatic styling on edits:
- Click “Enable Auto-Update” in the sidebar.
- This installs an
onEdittrigger that applies styles in real-time.
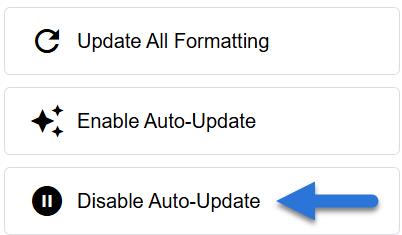
-
To disable automatic updates:
- Click “Disable Auto Update” in the sidebar.
- This stops real-time styling, reducing potential performance impact.
Recommendation: Enable auto-update once after installation to maintain real-time formatting.
Best Practices
- Test Rules: Experiment with different keywords and separators to refine your styles.
- Backup Rules: Always Save rules using the “Save Rules” button after adding new rules or updating existing rules.
Example Workflow
- Define a separator (e.g.,
|) to segment tasks. - Create rules for
“Urgent”(red) and“Completed”(green). - Use the Update All Formatting button to style existing data.
- Enable Auto-Update to maintain formatting as new data is added.
Known Issues
- Browser Differences with Color Picker: Some browsers may not allow direct color input via the color picker, affecting usability.
-
Collaborative Spreadsheets: The
onEdittrigger is installed per user. Each user must enable auto-update independently. At times, some other users working on the same spreadsheet may not be able to use the Auto Update feature, but they can still use the "Update All" feature.